DIY Solar Kits vs. Professional Solar Panel Installation Process Step by Step: Which One Actually Works
September 23, 2026
|
California
Homeowners across California considering solar power face an early fork in the road: hire a licensed professional or attempt a do-it-yourself kit. Both paths eventually lead to the same solar panel installation process step by step, but the outcomes, safety margins, and long-term value differ dramatically. This article breaks down each stage of installation, compares DIY and professional approaches side by side, and explains why the details matter more than the marketing.
Solar panel systems are a 20-to-25-year investment. The panels themselves are remarkably durable, but the quality of the installation determines whether that durability is ever realized. A poorly mounted array can leak roof penetrations, void manufacturer warranties, or fail electrical inspection. A professionally engineered system, by contrast, is designed to survive wind uplift, thermal cycling, and decades of California sun.
According to the U.S. Department of Energy, proper installation is one of the most significant factors affecting a solar system's lifetime performance. That's why understanding each step — and who is qualified to perform it — is essential before you sign a contract or order a kit online.
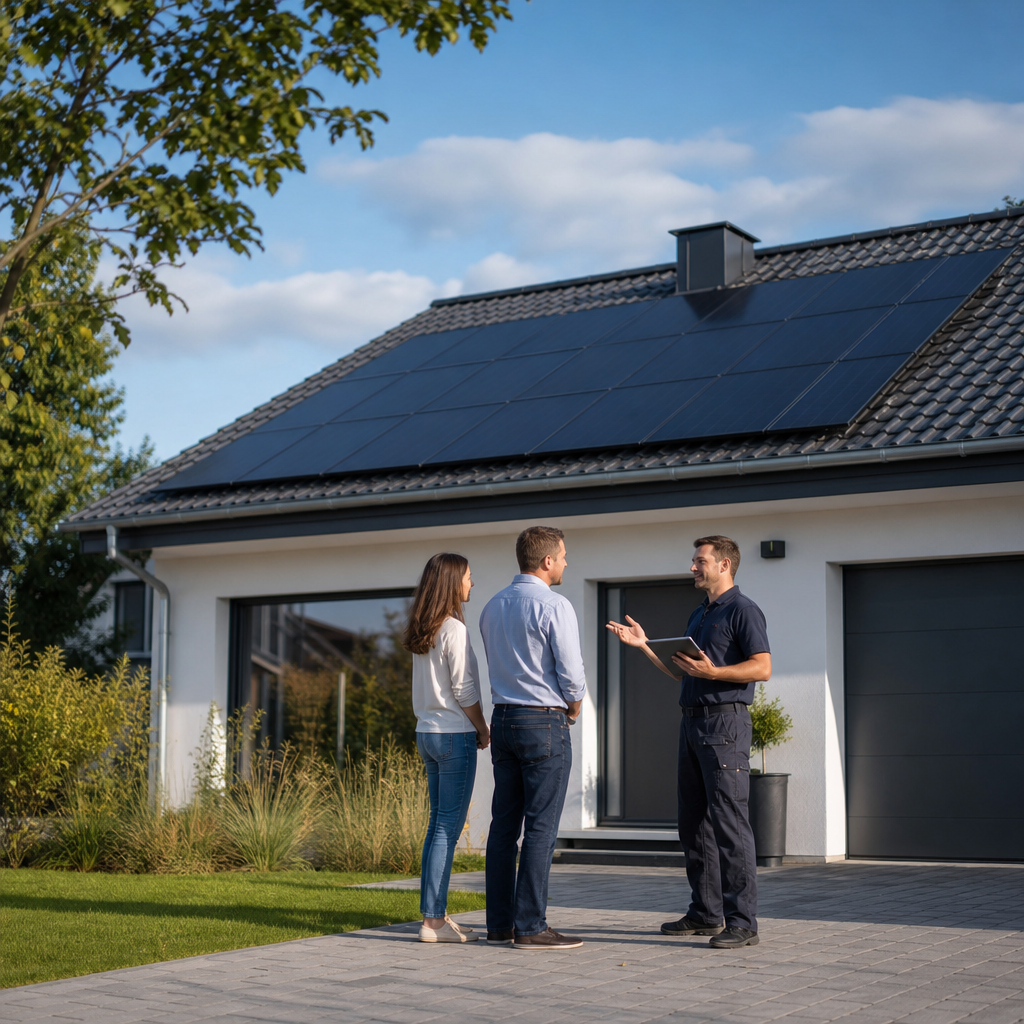
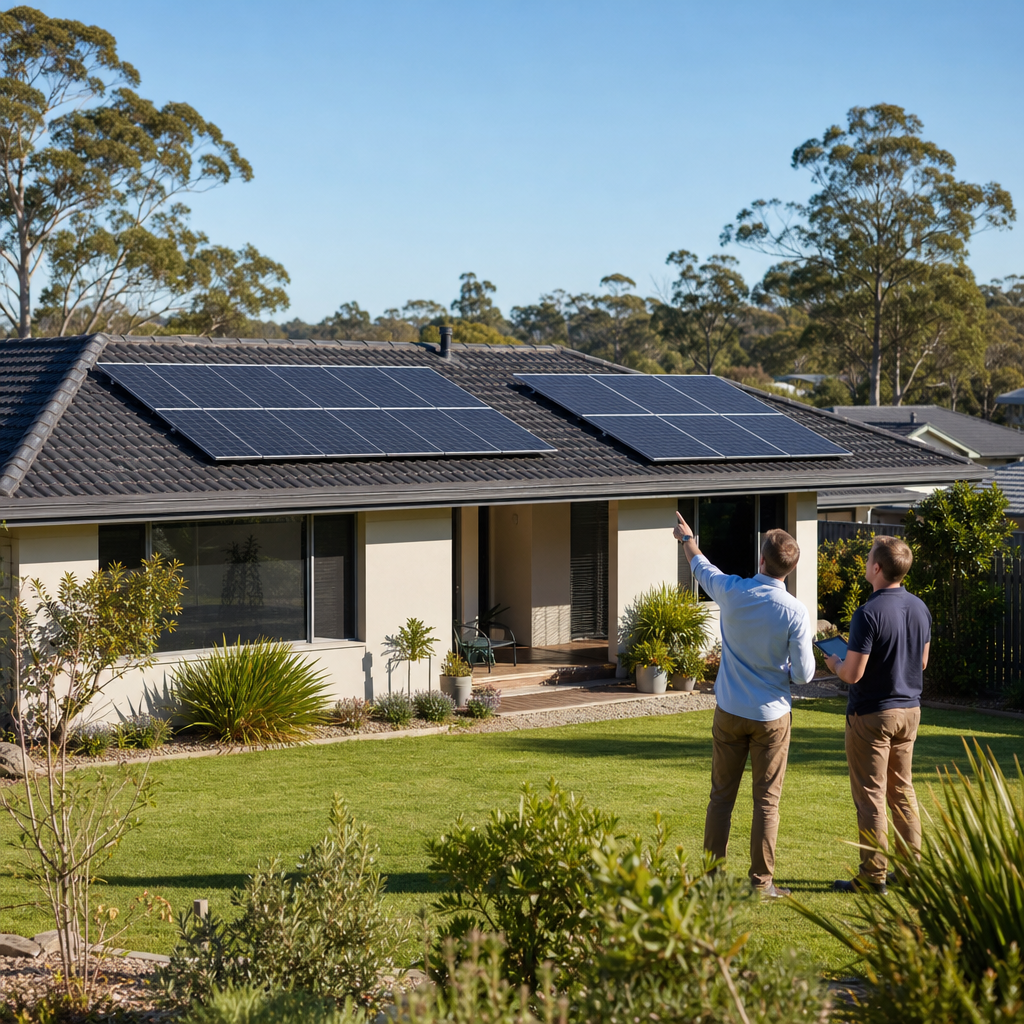
Every legitimate solar project begins with an assessment of your home's energy usage, roof condition, shading, and orientation.
Professional companies, including www.everysun.com, conduct this assessment using licensed engineers and design software that models sun exposure hour by hour across the year. DIY installers, by contrast, often rely on rough online calculators that don't account for microclimates or roof-specific shading patterns common in California neighborhoods.
Once the assessment is complete, the system is designed — panel placement, inverter type, battery integration, and wiring diagrams are finalized. This design then goes through the permitting process, which varies by California municipality but typically includes:
Permitting is frequently the most underestimated part of the entire journey. The California Public Utilities Commission oversees interconnection standards, and local Authority Having Jurisdiction (AHJ) offices enforce building code. Errors here can delay a project by weeks or months.
DIY reality check: Homeowners installing their own kits are legally required to pull the same permits as a licensed contractor. Many AHJs will not approve a permit unless the electrical work is signed off by a licensed electrician, which erases much of the presumed cost savings of a DIY approach.
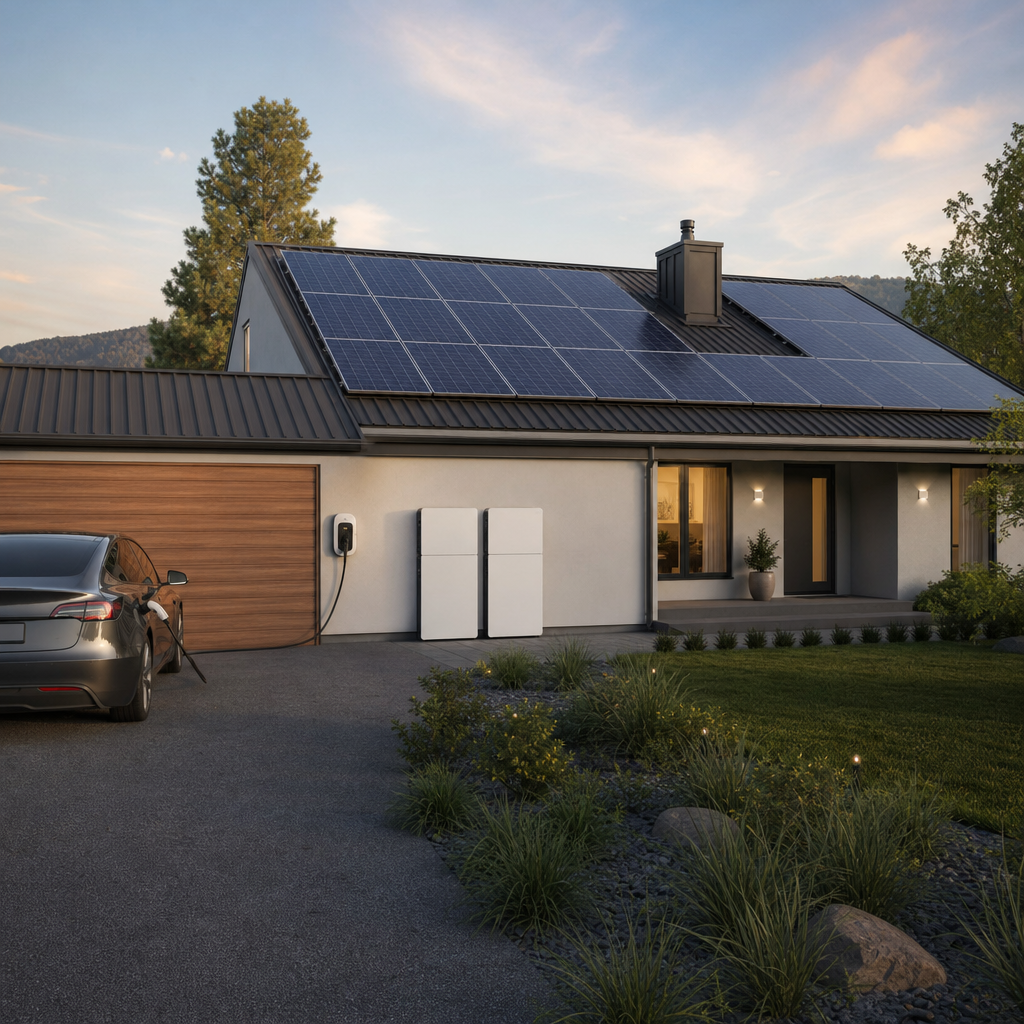
With permits filed, equipment is ordered: panels, inverters or microinverters, racking, battery storage, and balance-of-system components like conduit, disconnects, and monitoring hardware.
| Component | Professional Installation | Typical DIY Kit |
|---|---|---|
| Panels | US-made, high-efficiency, tier-1 cells | Often imported, mixed-quality tiers |
| Racking | Engineered for local wind/seismic loads | Generic, one-size-fits-all |
| Inverter | Matched to system design, often with monitoring | Basic string inverter, limited data |
| Battery Storage | Integrated, professionally sized | Rarely included or improperly matched |
| Warranty | 20–25 years, installer-backed | Manufacturer only, no labor coverage |
This is where the gap between DIY and professional installation becomes most visible. Everysun, for example, pairs US-made high-efficiency panels with Swedish-engineered safety standards, resulting in a system built to a stricter tolerance than most kit-based alternatives.
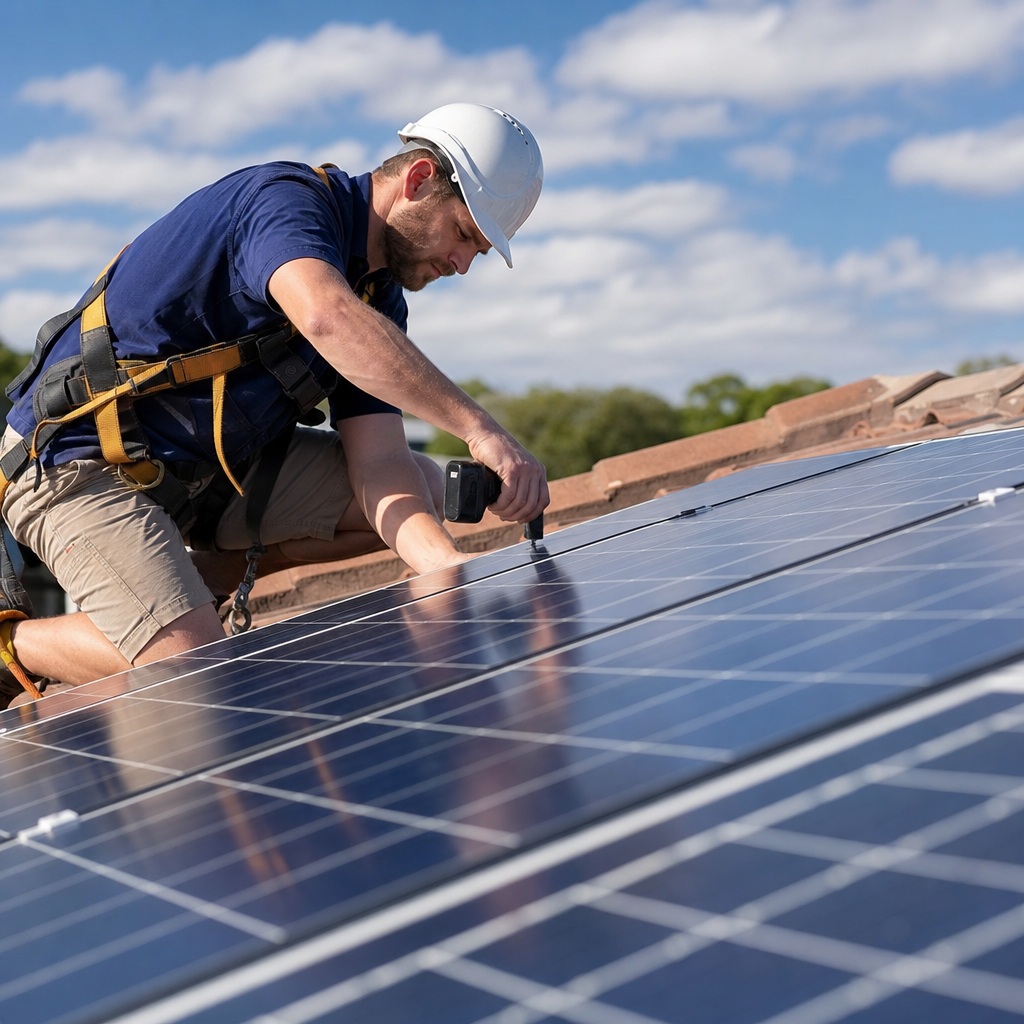
This is the most physically demanding and safety-critical stage of the entire process.
Roof work at height carries serious fall-risk, and improper flashing is one of the leading causes of post-installation roof leaks. The Occupational Safety and Health Administration classifies most residential roofing work, including solar racking installation, as high-hazard due to fall risk — a major reason why professional crews use certified harness systems, guardrails, and specialized lifts that most homeowners simply don't have access to.
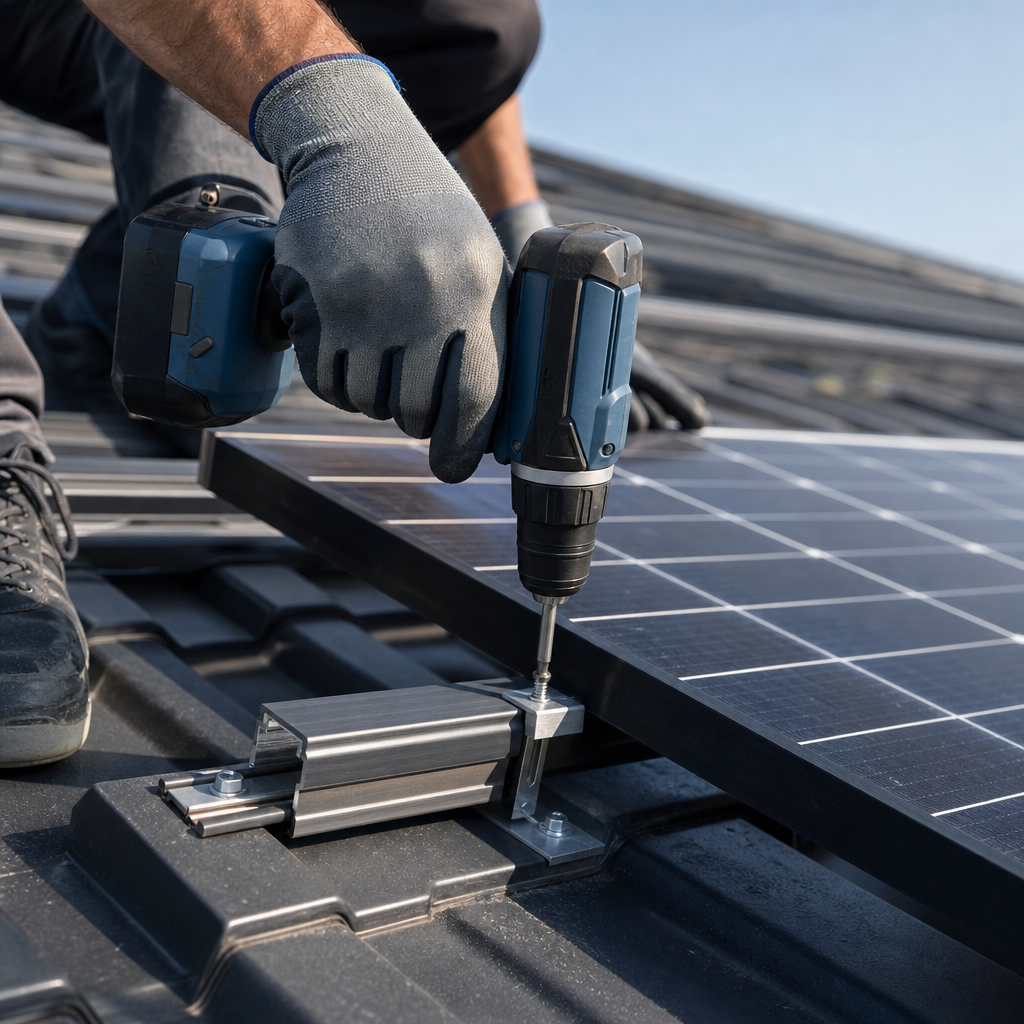
Once panels are mechanically secured, the electrical work begins:
This is the stage where licensing matters most. Incorrect wiring can cause arc faults, fires, or system failure. Only a licensed electrician — often working alongside a certified solar installer — should perform this work, which is one reason most DIY kit manufacturers still require professional electrical sign-off.
Before the system can be turned on, it must pass two separate reviews:
This dual-review process typically takes two to six weeks in California, depending on the utility's backlog. The Solar Energy Industries Association tracks interconnection timelines nationally and has flagged California utilities as among the more rigorous in the country — a benefit for safety, though it does add time to the schedule.
Once Permission to Operate is granted, the installer performs a final commissioning check:
This final step is where professional installers differentiate themselves further. Companies like www.everysun.com provide ongoing monitoring support and a 20-year installation guarantee, meaning any workmanship issue discovered years later is still covered. DIY installations, lacking a licensed installer of record, typically have no equivalent recourse beyond the panel manufacturer's product warranty.
| Factor | DIY Solar Kit | Professional Installation |
|---|---|---|
| Upfront cost | Lower equipment cost | Higher, but often financeable |
| Time investment | 40–100+ homeowner hours | Minimal homeowner time |
| Permitting complexity | Homeowner manages personally | Handled by installer |
| Safety risk | High (roof + electrical work) | Managed by trained crews |
| Warranty coverage | Product-only | Product + labor + installation guarantee |
| System performance | Variable, often under-optimized | Engineered for site-specific output |
| Battery integration | Rarely included | Frequently bundled |
| Long-term savings | Inconsistent | Typically stronger due to proper sizing |
The National Renewable Energy Laboratory has published cost-benchmarking data showing that installation labor and permitting, not panels themselves, make up a substantial share of total system cost — meaning the "savings" from DIY are often smaller than expected once code compliance and inspection delays are factored in.
Regardless of installation method, most California homeowners finance their solar purchase rather than paying cash. Professional installers typically offer more flexible options because they have established relationships with financing partners and can bundle costs into a single transparent contract.
Common payment structures include:
Everysun offers flexible payment options designed to make ownership accessible without requiring a large upfront cash outlay, which is one of the more meaningful advantages of working with an established installer rather than assembling financing piecemeal around a DIY kit purchase.
After installation, ongoing maintenance is minimal but not nonexistent. Typical upkeep includes:
Professional installers typically include some of this monitoring as part of their warranty package. A 20-year installation guarantee, for instance, means structural or workmanship issues are addressed without additional cost to the homeowner — a safety net simply unavailable to most DIY installations.
For most California homeowners, the decision comes down to risk tolerance versus cost savings. A DIY kit may appeal to technically skilled homeowners with construction experience, but the realities of permitting, electrical code, roof safety, and utility interconnection make professional installation the more reliable path for most households — particularly when battery storage, financing, and long-term warranty coverage are part of the equation.
Working with an established installer also means access to higher-efficiency, US-made equipment and installation standards that go beyond the local code minimum. Everysun's approach, combining Swedish safety protocols with domestic manufacturing, reflects a broader industry shift toward treating installation quality as seriously as panel efficiency itself.
The solar panel installation process step by step is straightforward to describe but demanding to execute correctly: site assessment, design, permitting, procurement, mounting, wiring, inspection, and activation each carry their own technical requirements and failure points. While DIY kits promise savings, the hidden costs of permitting delays, electrical risk, and unsupported warranties often outweigh the upfront discount. For California homeowners who want a system engineered for their specific roof, backed by real warranty protection, and installed to a higher safety standard, partnering with a professional team remains the more dependable route. www.everysun.com combines high-efficiency US-made panels, Swedish-grade installation standards, and flexible financing with a 20-year installation guarantee and 25-year product warranties — giving homeowners a clear, well-supported path from that first energy audit to a fully activated, reliable solar and battery system.
© 2025 Everysun Inc. All Rights Reserved.


Get Your Free Solar Quote
Request your free quote and see how solar can work for your home and budget