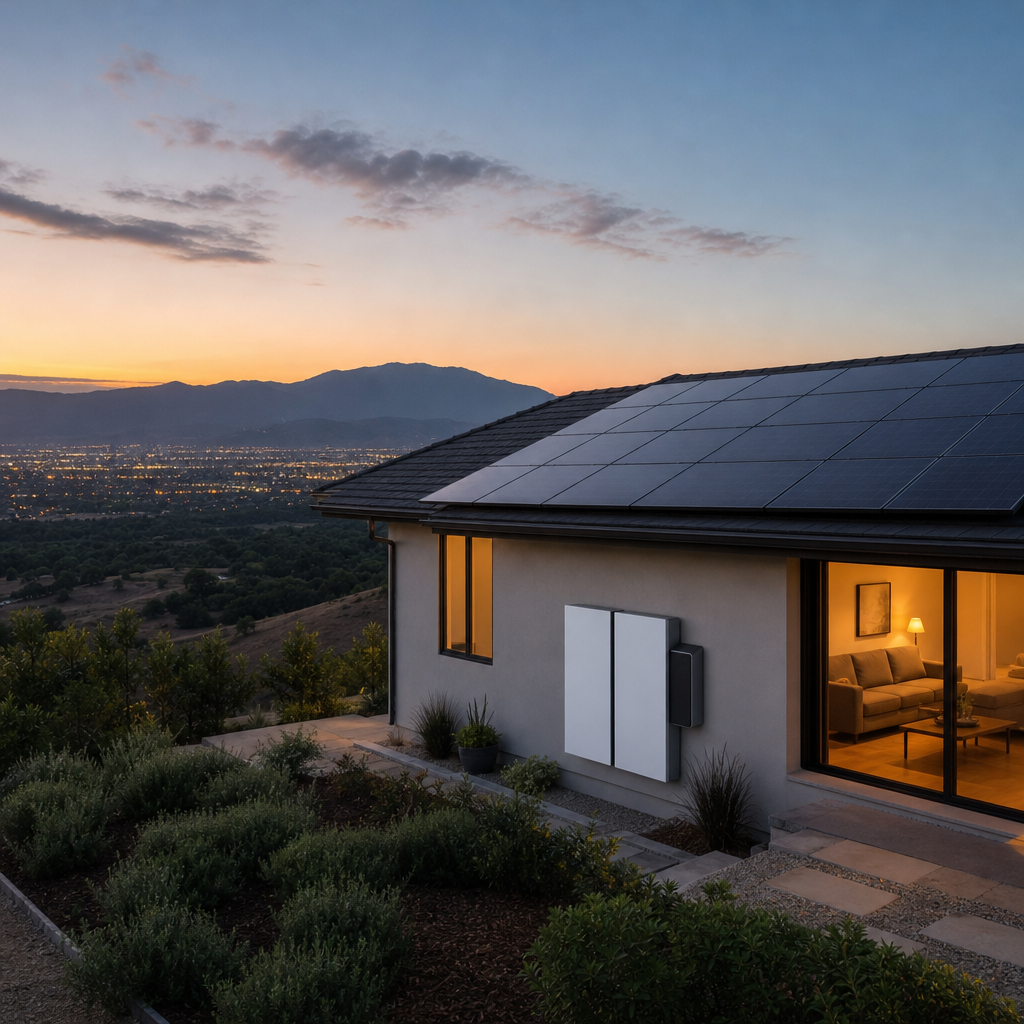
Will Solar Panel Installation Damage Your Roof? What San Diego Homeowners Should Expect
November 15, 2026
|
California
Deciding to go solar is a major step toward lower energy bills and a smaller carbon footprint, but many California homeowners hesitate for one specific reason: they worry about what the installation process will do to their roof. Will there be holes drilled into the decking? Will shingles crack underfoot? Will a leak show up two years later during the first big winter storm?
These are fair questions. Your roof is one of the most expensive components of your home, and it protects everything underneath it. The good news is that with a qualified installer, modern mounting hardware, and proper waterproofing techniques, solar panel installation disruption to your roof is minimal, predictable, and fully manageable. This article walks through exactly what happens during installation, what kind of disruption is normal versus a red flag, and how to protect your roof's integrity for decades to come.
Solar installation is a mechanical process that involves attaching a racking system to your roof structure, then mounting panels on top of that racking. The disruption comes primarily from three activities:
Each mounting point is sealed with flashing and waterproof sealant, a method that has been used in roofing for decades, long before solar became common. According to the National Renewable Energy Laboratory, properly installed flashed mounts have an extremely low failure rate when installed to code and manufacturer specifications.
The number of penetrations depends on your roof type and the racking system used. A typical residential system might require 20 to 40 mounting points for a 6-7 kW array, spaced according to engineering requirements for wind and seismic load — both significant considerations in California.
Not all roofs respond to installation the same way. The material, age, and pitch of your roof all affect how much disruption occurs and how complex the waterproofing process will be.
| Roof Type | Disruption Level | Key Considerations |
|---|---|---|
| Asphalt shingle | Low to moderate | Easiest to flash; shingles can be lifted and resealed cleanly |
| Concrete or clay tile | Moderate to high | Tiles are brittle and may crack; often require tile hooks or replacement tiles |
| Metal standing seam | Very low | Clamps attach to seams with zero penetrations in many cases |
| Flat/low-slope | Low | Often uses ballasted mounts, reducing or eliminating penetrations |
| Wood shake | High | Requires specialized flashing; higher risk of breakage during foot traffic |
Tile roofs, extremely common across Southern California, deserve special attention. Installers often use tile replacement mounts or raised tile hooks that redirect water around the mounting point rather than relying solely on sealant. Breaking a handful of tiles during installation is common, but a professional crew carries spare tiles or sources matching replacements before the job begins.
Metal roofs tend to be the least disruptive option because many racking systems clamp directly onto the standing seams without puncturing the roofing material at all.
Homeowners often picture installation as a multi-week ordeal, but the on-roof portion of the project is usually much shorter than people expect. Here's a general breakdown for a standard residential project in California:
Most straightforward residential installs are completed in two to four days of actual on-roof work. Permitting and utility interconnection, by contrast, can take several weeks — but that process does not involve anyone on your roof. For a deeper look at how permitting timelines work in California, see our related article on the solar panel permits process.
The difference between a stressful installation and a smooth one almost always comes down to the installer's process discipline. At www.everysun.com, our teams follow installation protocols modeled on Swedish safety and construction standards, which tend to be more conservative than baseline US code requirements. This includes:
This level of care is why www.everysun.com backs every project with a 20-year installation guarantee — if a mounting point ever fails or leaks due to installation error, it's covered. Few things matter more for long-term roof health than knowing the installer stands behind their penetrations for two decades, not just the one-year window many contractors offer.
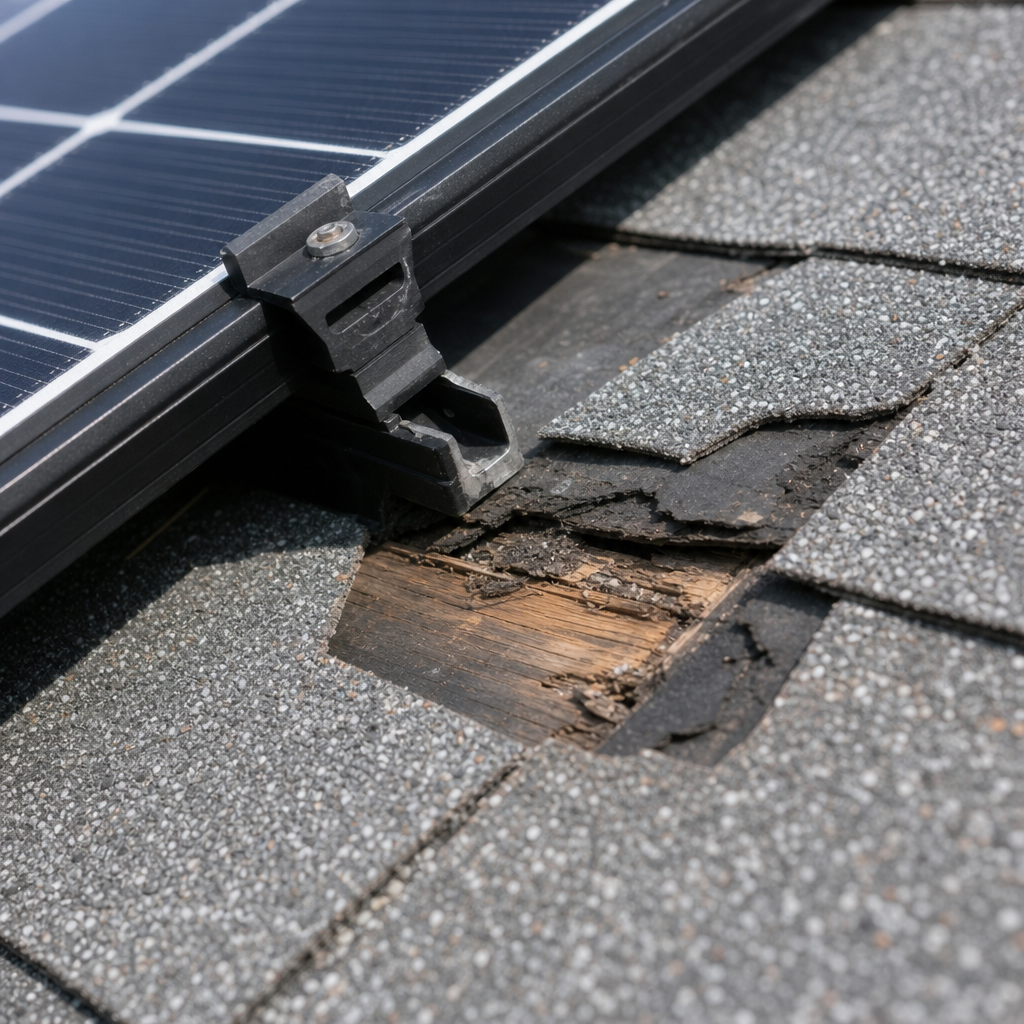
Different racking systems create different levels of physical disruption to the roof deck. Understanding these differences helps homeowners ask better questions during the quoting process.
| Mounting Method | Roof Penetrations | Best Suited For | Relative Cost |
|---|---|---|---|
| Flashed rafter mounts | Moderate (one per mounting foot) | Asphalt shingle, wood shake | Standard |
| Tile hook/replacement mounts | Moderate, tile-specific | Concrete/clay tile roofs | Slightly higher |
| Standing seam clamps | None to minimal | Metal roofs | Lower |
| Ballasted (weighted) systems | None | Flat or low-slope roofs | Variable, weight-dependent |
Ballasted systems are worth highlighting because they use weighted frames rather than penetrations to hold panels in place, making them essentially non-invasive to the roof membrane. However, they're only viable on flat or near-flat roofs with sufficient structural load capacity, which is less common in traditional California single-family homes.
For most pitched residential roofs, some level of penetration is unavoidable and, frankly, preferable — a properly flashed penetration is more reliable long-term than a non-penetrating clamp system forced onto an incompatible roof type.
Homeowners aren't powerless in this process. There are concrete steps you can take to reduce disruption and protect your investment.
Before installation:
During installation:
After installation:
Many homeowners don't realize that reputable installers document every single mounting point with photos precisely because it protects both parties. If a leak ever develops near a penetration years later, visual records make it far easier to determine whether it's solar-related or a separate roofing issue.
One of the most overlooked disruption factors isn't the installation itself — it's timing relative to your roof's remaining lifespan. Installing solar on a roof that needs replacement within the next five to seven years creates a costly problem: removing and reinstalling panels to accommodate a new roof.
| Roof Age at Installation | Recommended Action |
|---|---|
| 0-10 years | Proceed with installation as planned |
| 10-15 years | Get a professional roof inspection first |
| 15-20 years | Strongly consider roof replacement before solar |
| 20+ years | Replace roof first in nearly all cases |
The Department of Energy recommends homeowners factor in roof age before committing to a system, since removal-and-reinstallation labor can add thousands of dollars to a project that could have been avoided with better timing. A trustworthy installer will raise this issue during the initial consultation rather than waiting until after signing a contract.
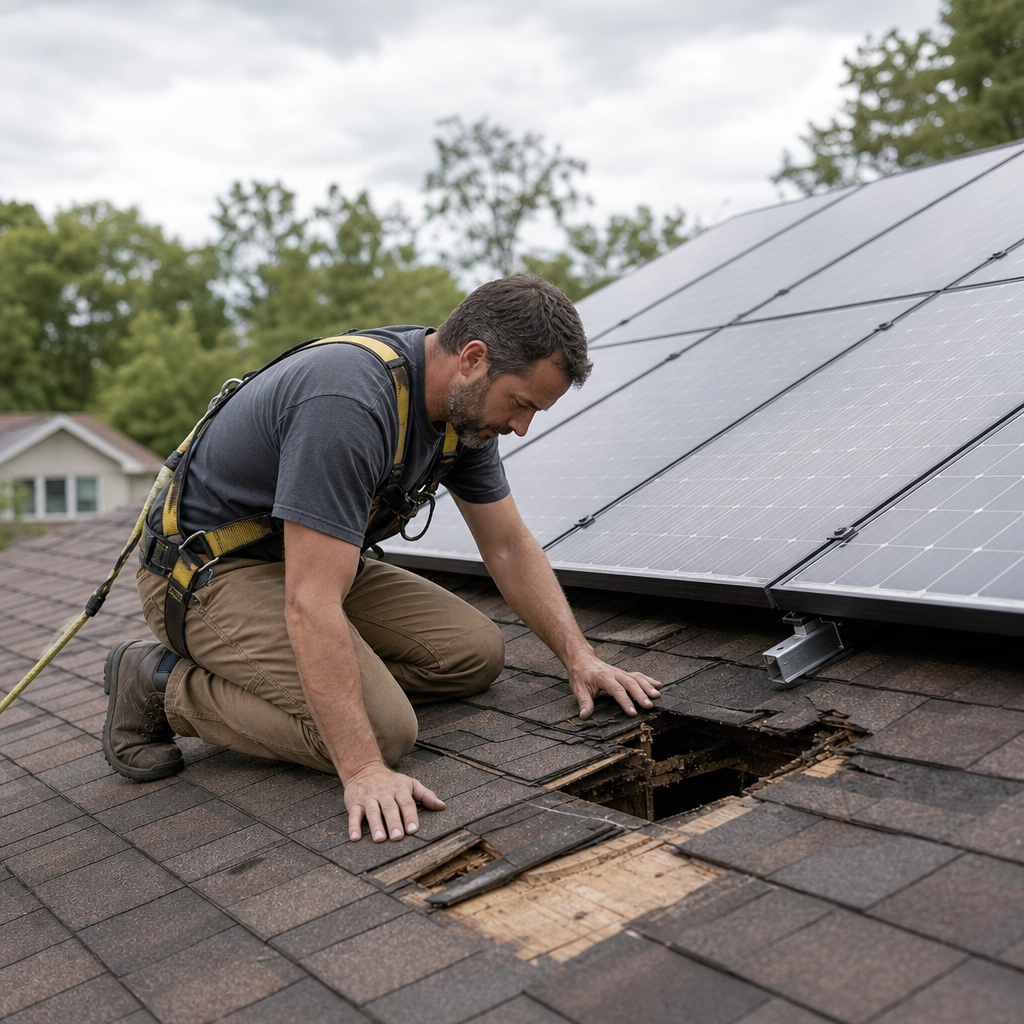
"Will drilling into my roof cause structural damage?" No, provided the mounting points are engineered to attach to rafters or trusses rather than just roof sheathing. This is standard practice and is reviewed during the permitting and engineering phase of every project.
"What if a tile or shingle breaks during installation?" Occasional breakage is normal, especially on older tile roofs. Reputable installers replace broken tiles with matching units at no additional cost, which is why it's worth asking about this policy upfront.
"Will my roof warranty be voided by solar installation?" This depends on your roofing manufacturer. Many major roofing warranties remain valid as long as installation follows manufacturer-approved penetration methods. Ask your roofer or check your warranty documentation, and make sure your solar installer is aware of any manufacturer-specific requirements.
"How do I know if there's a hidden leak after installation?" Watch for water stains on interior ceilings, especially near where conduit penetrates the roof, in the weeks following the first rainfall after installation. A reliable installer offers a straightforward process for addressing any issues that surface.
"Does battery storage installation add more roof disruption?" Generally, no. Battery systems like those offered through www.everysun.com are typically wall-mounted in a garage or utility area, meaning the battery component itself adds no additional roof penetrations beyond the standard panel and conduit installation.
It's tempting to focus entirely on panel efficiency ratings and warranty length when comparing solar providers, but installation quality is arguably the bigger long-term factor for roof health. A high-efficiency panel installed with sloppy flashing will cause more problems over 20 years than a mid-tier panel installed meticulously. For a broader look at how a rushed or unqualified process can go wrong, our piece on what happens when homeowners skip a proper design consultation outlines some of the costlier mistakes we see across the state.
This is precisely why www.everysun.com structures every project around a detailed site assessment first, engineered mounting plans second, and installation last — reducing the chance of disruption-related issues before a single panel ever reaches the roof. Combining US-made, high-efficiency panels with installation standards built on Swedish safety practices gives California homeowners a rare combination: strong equipment backed by meticulous craftsmanship.
Roof disruption from solar panel installation is real, but it is also well understood, well documented, and highly manageable when handled by an experienced team. The vast majority of concerns homeowners have — cracked tiles, leaks, structural worries — stem from installer error rather than an inherent flaw in solar technology itself. With engineered mounting plans, proper flashing, and a roof-first mindset that considers your home's existing condition before work begins, disruption can be kept to a minimum while your roof remains fully protected for decades.
If you're a California homeowner weighing solar and want a team that treats your roof with the same care as your energy savings, www.everysun.com combines rigorous installation standards, a 20-year installation guarantee, and 25-year product warranties to give you confidence at every stage of the process — from the first site visit to the day your system is generating clean, reliable power.
© 2025 Everysun Inc. All Rights Reserved.


Get Your Free Solar Quote
Request your free quote and see how solar can work for your home and budget