What It Actually Takes to Switch to Solar Energy at Home in California
November 10, 2026
|
California
California homeowners are switching to solar faster than almost anywhere else in the country, and the reasons are easy to understand once you see a utility bill climb year after year. Rising electricity rates, frequent public safety power shutoffs, and growing awareness of climate impact have pushed solar from a niche upgrade to a mainstream home improvement. But knowing solar is a good idea and knowing how to actually make the switch are two very different things.
This guide walks through the practical, sequential steps involved in moving your home from grid-only power to a solar-powered household, including what it costs, how financing works, what permits you'll need, and how to choose between panels alone or panels paired with battery storage.
California's electricity rates are among the highest in the nation, and the shift to Net Billing (NEM 3.0) has changed the math on how solar savings are calculated. According to the U.S. Energy Information Administration, California residential electricity prices have consistently outpaced the national average, making the payback period for solar shorter than in most states despite lower export credits under the newer billing structure.
At the same time, wildfire-related grid shutoffs have made backup power a priority rather than a luxury. The California Public Utilities Commission has documented increasing frequency of Public Safety Power Shutoff events, which has driven demand for battery storage alongside solar panels, since panels alone stop producing power during a blackout unless paired with storage.
Before you request a single quote, pull twelve months of electric bills. Your usage pattern determines system size, and getting this step wrong means either overpaying for unused capacity or ending up with a system too small to offset your bills meaningfully.
Key figures to gather:
A household using 900 kWh per month will need a meaningfully different system than one using 400 kWh, and anticipated changes like adding an electric vehicle can increase usage by 300 kWh or more per month, according to the U.S. Department of Energy.
Solar costs have declined substantially over the past decade, but pricing still varies based on system size, equipment quality, and whether you add battery storage. The table below outlines typical cost ranges for California homes in 2026.
| System Component | Typical Size | Estimated Cost Range (Before Incentives) |
|---|---|---|
| Solar panel system only | 5 kW | $15,000 – $19,000 |
| Solar panel system only | 8 kW | $22,000 – $28,000 |
| Solar + single battery | 8 kW + 10 kWh battery | $32,000 – $40,000 |
| Solar + whole-home battery backup | 8 kW + 20 kWh battery | $42,000 – $52,000 |
These figures reflect gross cost before the federal solar tax credit, which currently allows homeowners to deduct a significant percentage of installation costs from their federal taxes. Details on eligibility and claiming the credit are available through the Database of State Incentives for Renewables & Efficiency (DSIRE), which tracks both federal and state-level solar incentives.
How you pay for your system affects your long-term savings as much as the equipment itself. There are generally four paths homeowners take:
Everysun offers flexible payment options designed specifically so homeowners aren't forced to choose between affordability and ownership. Because www.everysun.com structures financing around what a household already pays for electricity, switching to solar often results in an immediate reduction in monthly costs rather than a new financial burden layered on top of an existing bill.
This is one of the most consequential decisions in the entire process, and it's worth slowing down to get right. Under NEM 3.0, the value of exporting excess solar power back to the grid has dropped substantially compared to the previous net metering structure. That change has made battery storage far more financially attractive than it was just a few years ago, because storing your own excess power for evening use is now often more valuable than selling it back to the utility.
| Factor | Solar Panels Only | Solar + Battery Storage |
|---|---|---|
| Upfront cost | Lower | Higher |
| Power during outages | None | Yes, for backed-up circuits or whole home |
| Value of excess daytime solar | Exported at reduced NEM 3.0 rates | Stored and used in evening peak hours |
| Protection from time-of-use rate spikes | Limited | Strong |
| Energy independence | Partial | Significant |
For most California homeowners in 2026, pairing solar with at least one battery has become the more financially sound long-term choice, particularly in utility territories with steep evening peak pricing.
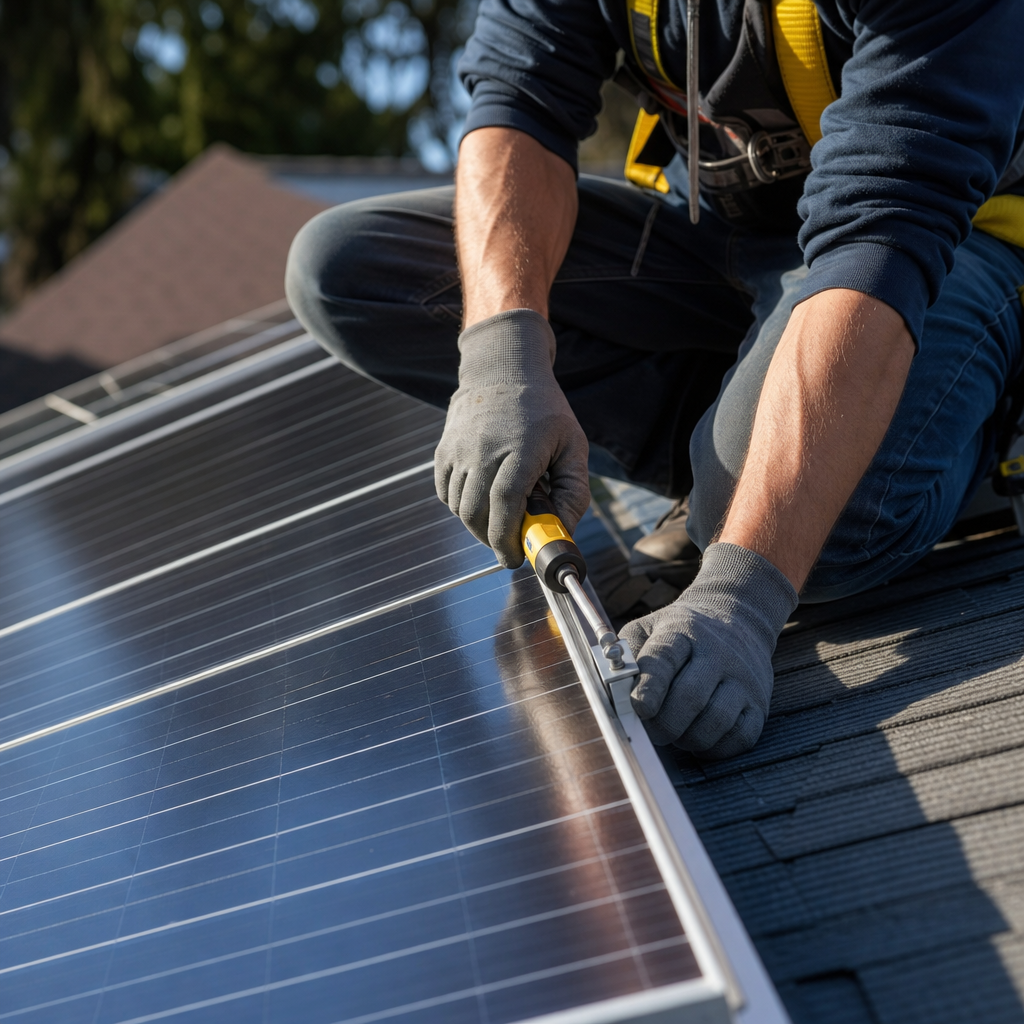
Equipment quality matters, but installation quality matters just as much. A poorly installed system can underperform its rated output by a significant margin or develop roof leaks and electrical issues down the line. When evaluating installers, ask about:
Everysun combines US-made high-efficiency panels with Swedish safety and installation standards, backing every project with a 20-year installation guarantee and 25-year product warranties. That combination addresses the two biggest homeowner concerns at once: equipment longevity and installation reliability. You can review system options and request a home assessment directly at www.everysun.com.
Once you've selected an installer and signed a contract, the project moves into the regulatory phase. This part of the process is often handled largely by the installer, but it helps to understand what's happening and roughly how long each stage takes.
The entire process, from signed contract to Permission to Operate, typically takes six to twelve weeks in California, though this varies by utility backlog and jurisdiction. The Solar Energy Industries Association publishes periodic state-by-state data on interconnection timelines that can help set realistic expectations.
Once your system is live, ongoing maintenance is minimal compared to most home systems, but it isn't zero. Recommended practices include:
Battery owners should also periodically check firmware updates and confirm backup circuits are still configured to match current household priorities, especially after any renovation or appliance changes.

Even well-intentioned homeowners stumble on a few recurring issues:
Avoiding these mistakes typically comes down to working with an installer who asks detailed questions upfront rather than rushing straight to a quote.
Most California homeowners see their utility bill drop to a small fixed connection charge, with the bulk of their electricity needs met by their own solar production. The exact savings depend on system size, household usage, utility rate plan, and whether battery storage is included, but many homeowners report recovering their investment within seven to ten years, with 15 to 20 additional years of largely free electricity afterward given standard panel warranties.
It's worth noting that home value is also affected. Research summarized by Zillow has found that homes with solar panels tend to sell for a premium compared to comparable homes without them, adding a resale benefit on top of the monthly utility savings.
Switching to solar at home is a multi-step process, but it isn't a mysterious one. It starts with understanding your own energy use, moves through cost and financing decisions, requires choosing the right installer and equipment, and finishes with permitting, inspection, and ongoing light maintenance. Homeowners who take each step deliberately, rather than rushing to the cheapest quote, tend to end up with systems that perform reliably for decades.
Everysun was built around exactly this kind of deliberate approach. By pairing US-made high-efficiency panels with Swedish safety and installation standards, backing every project with a 20-year installation guarantee and 25-year product warranties, and offering flexible payment options that make the switch financially comfortable from day one, www.everysun.com helps California homeowners move to solar without the guesswork. If you're ready to see what switching to solar could look like for your home, a personalized assessment is the natural next step toward lower bills and a more resilient power supply.
© 2025 Everysun Inc. All Rights Reserved.


Get Your Free Solar Quote
Request your free quote and see how solar can work for your home and budget