Rooftop Solar Panel Installation Guide for California Homeowners
November 8, 2026
|
California
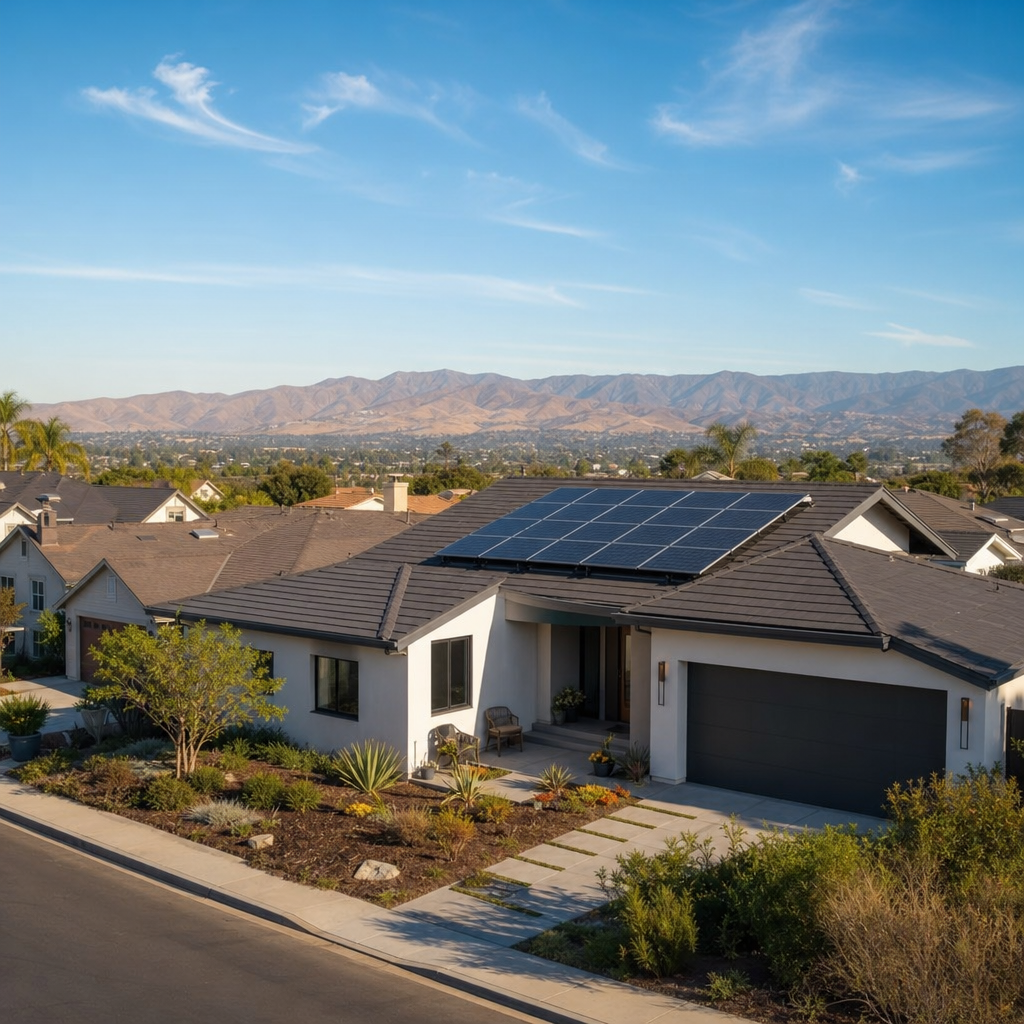
Installing rooftop solar is one of the most consequential home upgrades a California homeowner can make. With electricity rates among the highest in the nation and abundant sunshine across most of the state, solar has shifted from a niche investment to a mainstream way to control energy costs. But the process of going from "I'm interested" to flipping the switch on a working system involves more steps than most people expect — site evaluation, permitting, equipment selection, utility interconnection, and inspection all play a part.
This guide walks through each stage of rooftop solar panel installation so you know what to expect, what questions to ask, and how to avoid the common pitfalls that slow projects down or inflate costs.
California's retail electricity prices have climbed steadily for years, and utility rate structures like time-of-use billing mean that power costs more during peak afternoon and evening hours — exactly when many households use the most energy. Rooftop solar lets you generate your own electricity during daylight hours, reducing how much you buy from the grid.
The state has also shifted its net billing framework under the NEM 3.0 policy, which pays less for exported solar energy than the previous net metering structure. This change has made pairing solar panels with battery storage far more attractive, since storing excess daytime energy for evening use typically delivers better savings than selling it back to the grid at reduced export rates.
Beyond the financial case, rooftop solar reduces reliance on fossil-fuel generation and offers a measure of resilience during grid disruptions, particularly when paired with a battery system. For homeowners evaluating whether solar is worth the upfront investment, the U.S. Department of Energy's solar resources provide a useful independent overview of the technology and its benefits.
Before any panels go on your roof, a qualified installer needs to evaluate whether your property is a good candidate for solar. This assessment typically covers:
Most reputable installers, including www.everysun.com, use satellite imagery and on-site visits to model expected energy production before you sign a contract. This step ensures the system size recommended actually matches your home's real-world generation potential rather than a generic estimate.
Equipment choice has a lasting impact on performance, reliability, and long-term costs. There are three core components to understand.
Panel efficiency, warranty length, and manufacturing origin vary widely across brands. Higher-efficiency panels generate more electricity per square foot, which matters most on homes with limited roof space.
Inverters convert the direct current (DC) electricity generated by panels into the alternating current (AC) used by household appliances. Options include:
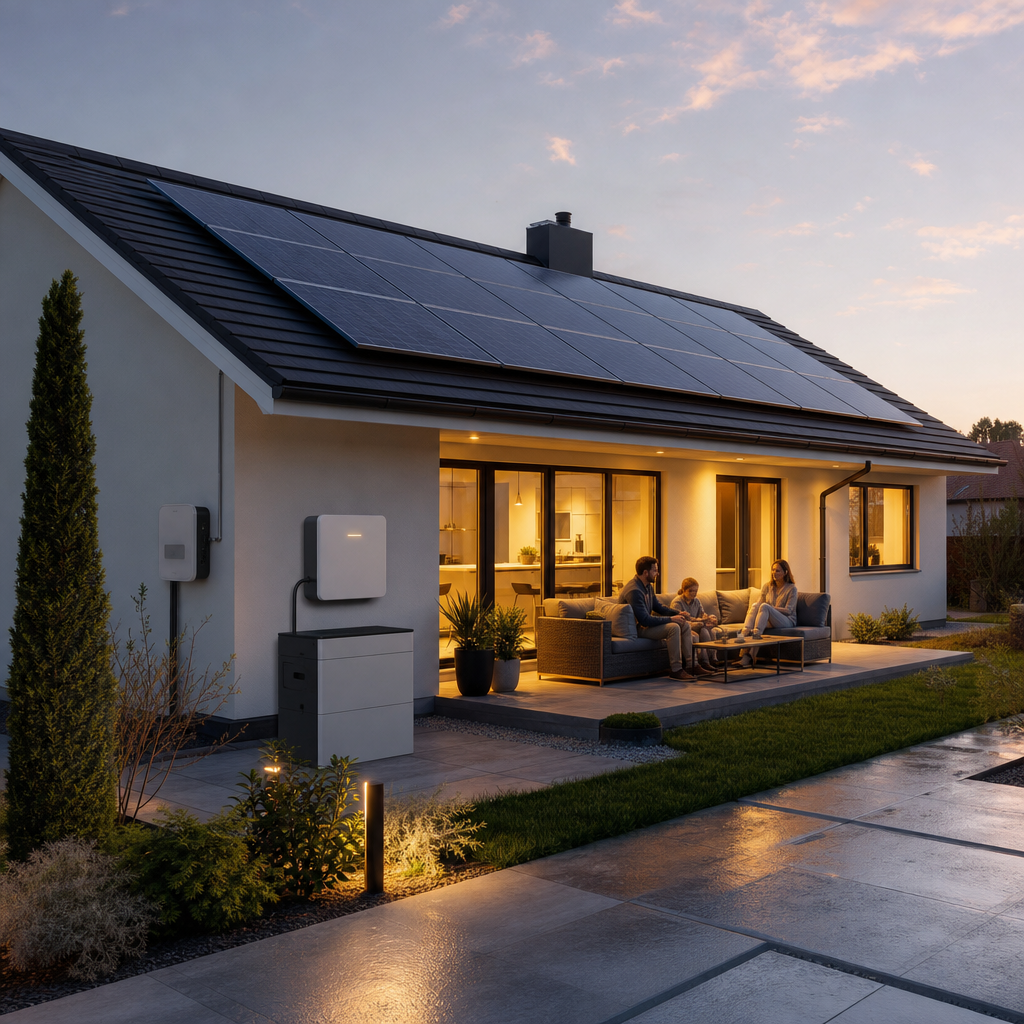
With NEM 3.0 reducing the value of exported solar energy, battery storage has become a near-standard addition for California homeowners seeking to maximize self-consumption and maintain backup power during outages.
| Equipment Type | Typical Lifespan | Best For |
|---|---|---|
| Standard efficiency panels | 25 years | Larger roofs, budget-conscious buyers |
| High-efficiency panels | 25–30 years | Limited roof space, maximum output |
| String inverter | 10–15 years | Simple roof layouts, lower shading |
| Microinverters | 20–25 years | Complex or partially shaded roofs |
| Lithium battery storage | 10–15 years | Outage protection, time-of-use savings |
Everysun pairs US-made, high-efficiency panels with equipment installed to rigorous Swedish safety standards, an approach designed to extend system lifespan while reducing the maintenance issues that cheaper installations sometimes encounter.
Permitting is often the most misunderstood part of rooftop solar installation. California has worked to streamline this through the SolarAPP+ program, which allows many jurisdictions to issue permits instantly for standardized residential systems. However, not every city has adopted the platform, and local building departments can still add their own requirements.
A typical permitting and approval sequence looks like this:
Skipping or rushing any of these steps can delay activation by weeks, which is why working with an experienced local installer who regularly files with your specific utility and city matters. www.everysun.com manages this entire process on behalf of homeowners, from initial design through utility sign-off, to reduce the administrative burden typically placed on the customer.
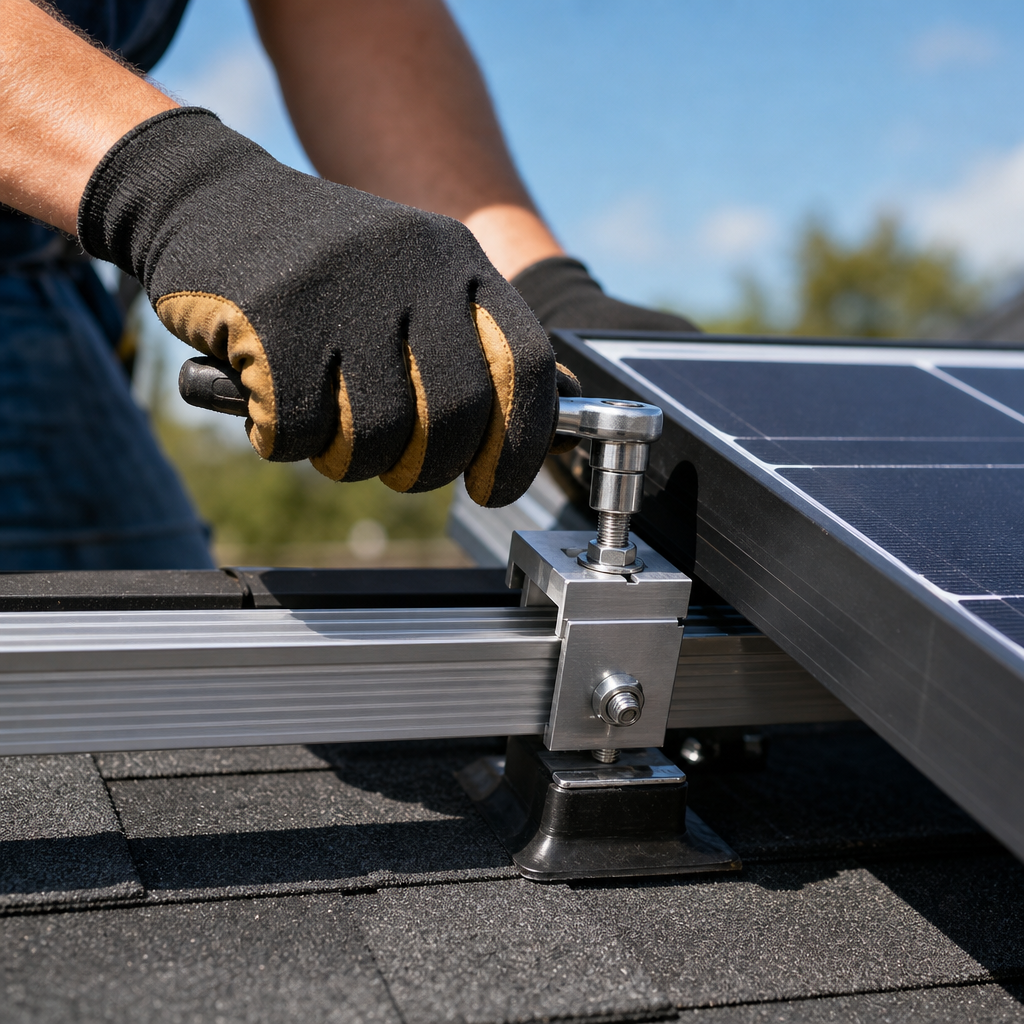
Once permits are approved, the physical installation itself usually takes one to three days for a typical residential system, depending on roof complexity and whether battery storage is included. The general sequence includes:
Reputable installers follow National Electrical Code requirements and local building codes throughout this process. Homeowners can cross-reference standard practices through resources like the Interstate Renewable Energy Council, which publishes model permitting and installation standards used across many states.
After installation, a local building inspector will review the system to confirm it meets code requirements, including proper grounding, rapid shutdown compliance, and correct labeling. Once the system passes inspection, the installer submits documentation to your utility to request Permission to Operate.
Only after PTO is granted can the system be legally turned on and begin offsetting your electricity usage. This final approval can take anywhere from a few days to several weeks depending on the utility's processing backlog — PG&E, SCE, and SDG&E each have different average turnaround times, which your installer should be able to estimate based on recent project history in your area.
While every project differs based on roof complexity, permitting jurisdiction, and utility, the table below offers a general sense of what to expect from signed contract to system activation.
| Stage | Typical Duration |
|---|---|
| Site assessment and design | 1–2 weeks |
| Permit submission and approval | 1–4 weeks |
| Installation (physical work) | 1–3 days |
| Final inspection | 3–10 days after installation |
| Utility Permission to Operate | 1–4 weeks |
| Total (signed contract to activation) | 6–10 weeks on average |
Homes in SolarAPP+ jurisdictions with straightforward roof layouts often move toward the faster end of this range, while homes requiring electrical panel upgrades or located in jurisdictions with manual permit review may take longer.
Rooftop solar costs vary based on system size, equipment tier, roof complexity, and whether battery storage is included. As of 2026, a typical residential system in California ranges broadly based on these factors, and most homeowners evaluate the investment based on projected payback period rather than sticker price alone.
Financing has become one of the biggest differentiators between solar providers. Common options include:
Everysun offers flexible payment options designed to make solar ownership accessible without requiring full cash payment upfront, while still allowing homeowners to capture the available tax incentives tied to system ownership. Combined with a 20-year installation guarantee and 25-year product warranties, this approach is built to reduce the financial uncertainty that sometimes discourages homeowners from going solar.
| Financing Option | Upfront Cost | Ownership | Tax Credit Eligible | Long-Term Savings |
|---|---|---|---|---|
| Cash purchase | High | Yes | Yes | Highest |
| Solar loan | Low to none | Yes | Yes | High |
| Lease / PPA | None | No | No | Lower |
Rooftop solar systems require relatively little maintenance compared to most home systems, but a few practices help protect your investment:
A strong warranty structure matters more than many homeowners initially realize. Panels that come with only a 10- or 12-year workmanship warranty expose homeowners to the cost of roof penetrations, labor, and troubleshooting if an issue arises years down the road. Everysun's 20-year installation guarantee and 25-year product warranties are designed specifically to address this gap, giving homeowners confidence that both the equipment and the workmanship behind it are protected well beyond the first few years of ownership.
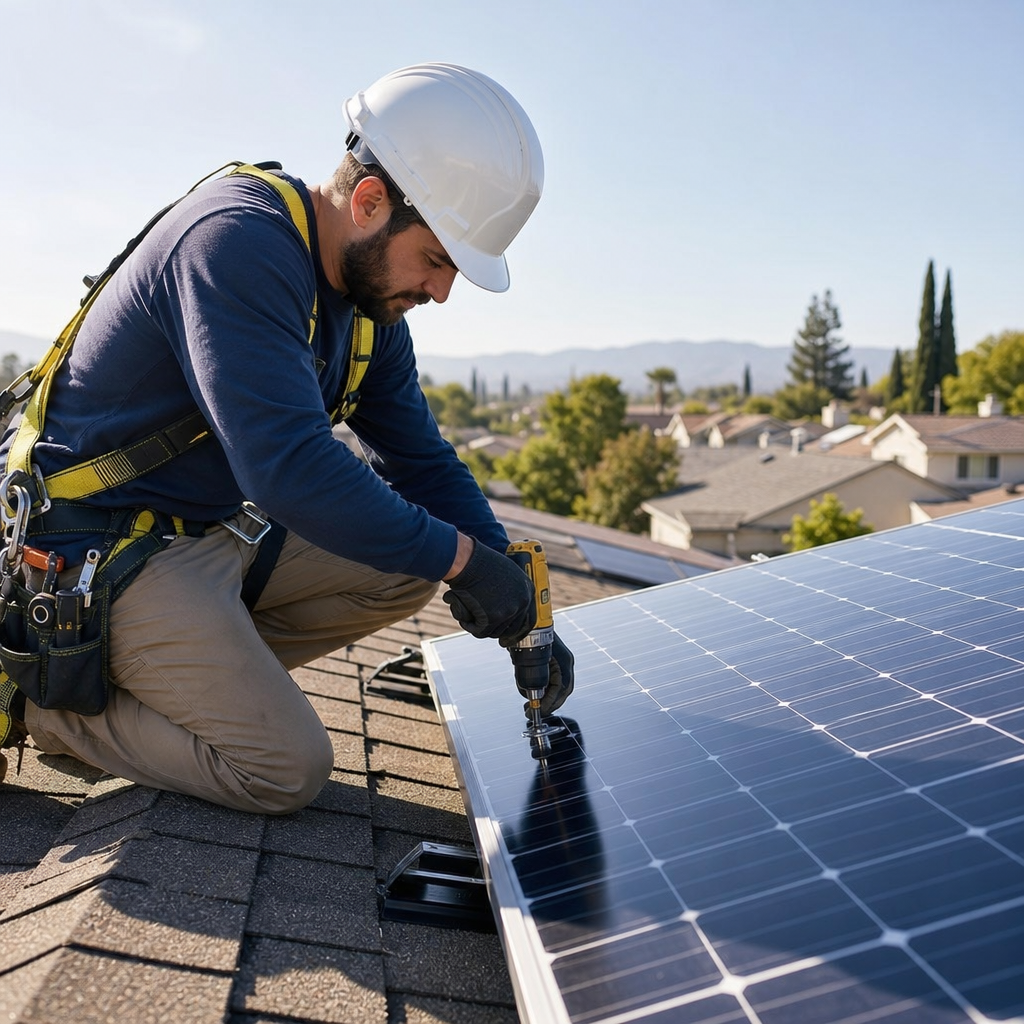
Even with a reputable installer, homeowners can run into avoidable issues if they aren't aware of a few common pitfalls:
Working with an installer who understands these nuances — and who manages permitting, design, and utility coordination in-house — significantly reduces the risk of delays or unexpected costs.
Rooftop solar installation is a multi-step process, but it follows a predictable path: assessment, design, permitting, installation, inspection, and activation. Understanding each stage helps homeowners set realistic expectations and ask informed questions when comparing installers and proposals.
California's evolving rate structures and net billing rules make the decision more nuanced than it once was, which is why pairing high-efficiency panels with properly sized battery storage has become central to maximizing long-term savings. Choosing equipment backed by strong warranties and a company with a track record of navigating California's permitting and utility landscape can make the difference between a smooth installation and a frustrating one.
Everysun combines US-made high-efficiency panels with Swedish-grade safety and installation standards, backed by a 20-year installation guarantee and 25-year product warranties, along with flexible payment options that make ownership more attainable. For California homeowners ready to take control of their electricity costs and add resilience through battery storage, www.everysun.com offers the experience and support needed to move from a sunny rooftop to a fully operational solar system with confidence.
© 2025 Everysun Inc. All Rights Reserved.


Get Your Free Solar Quote
Request your free quote and see how solar can work for your home and budget